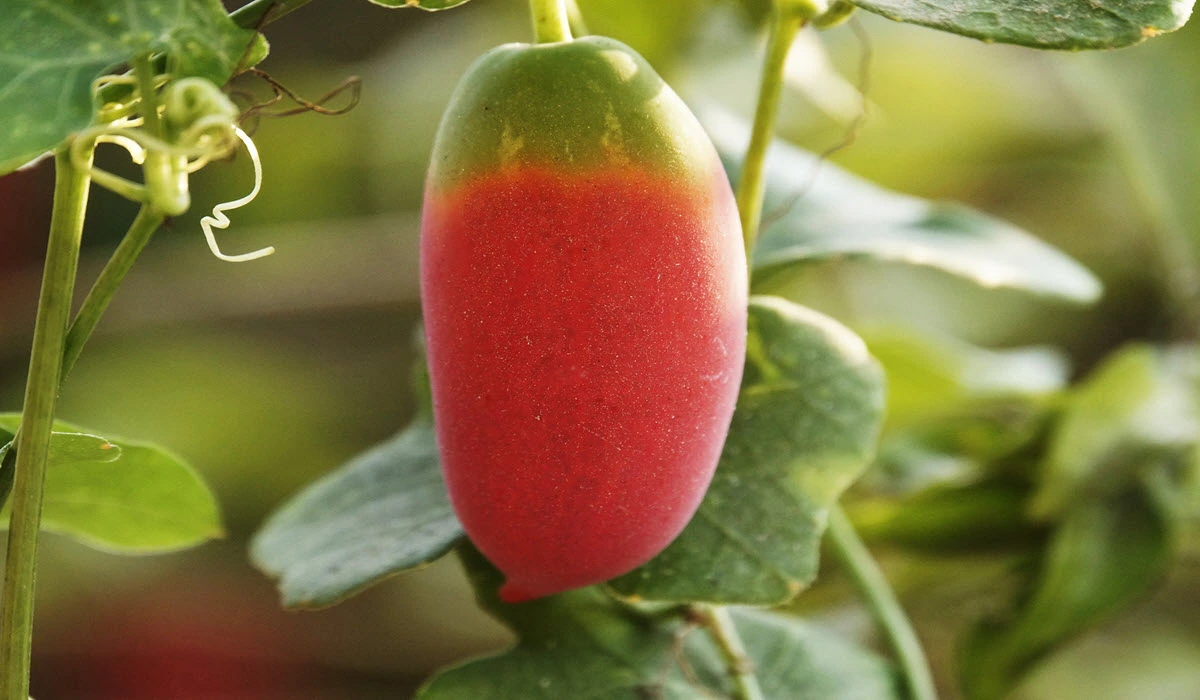
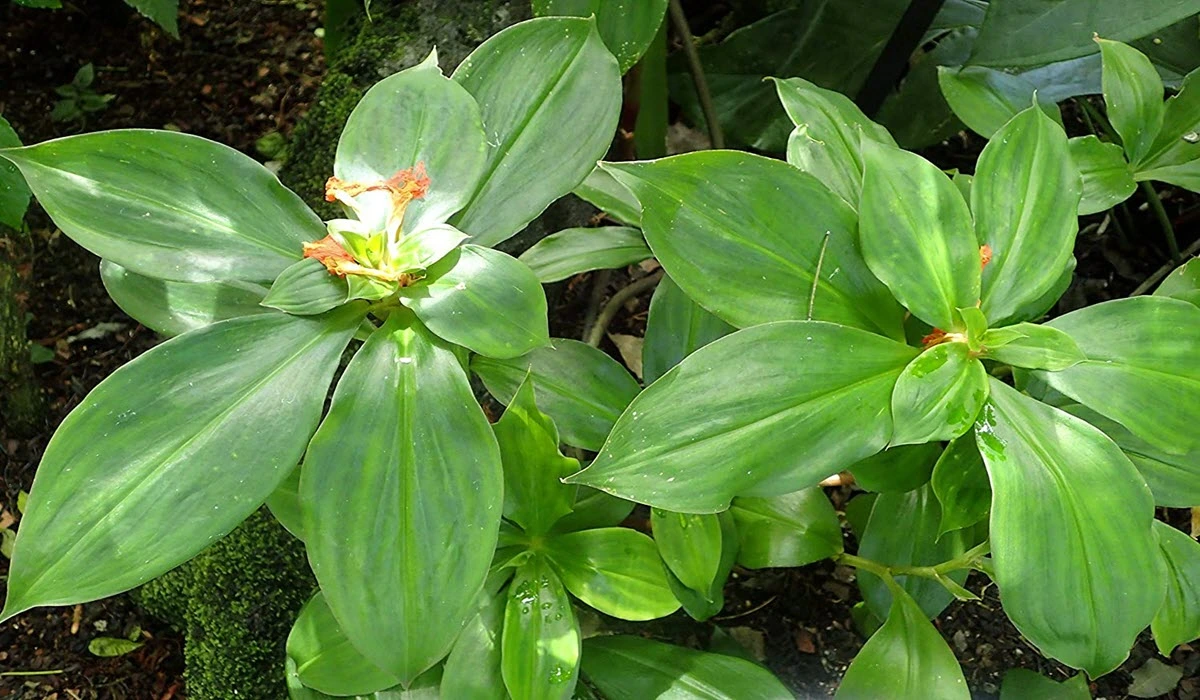
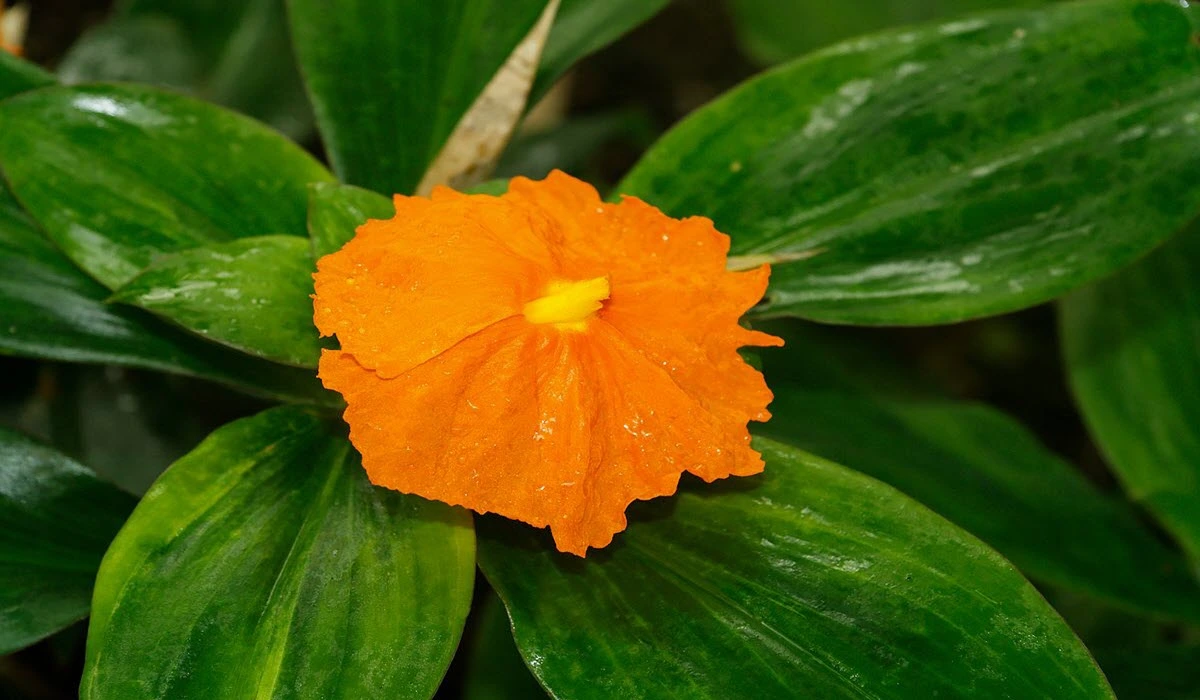
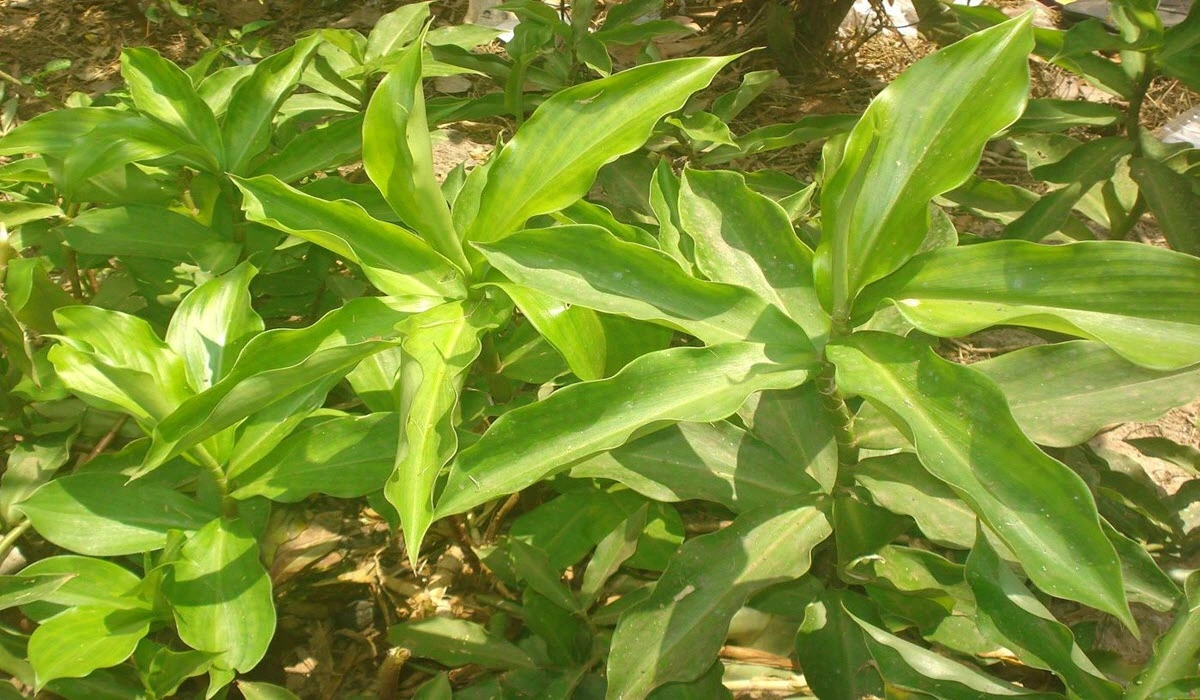
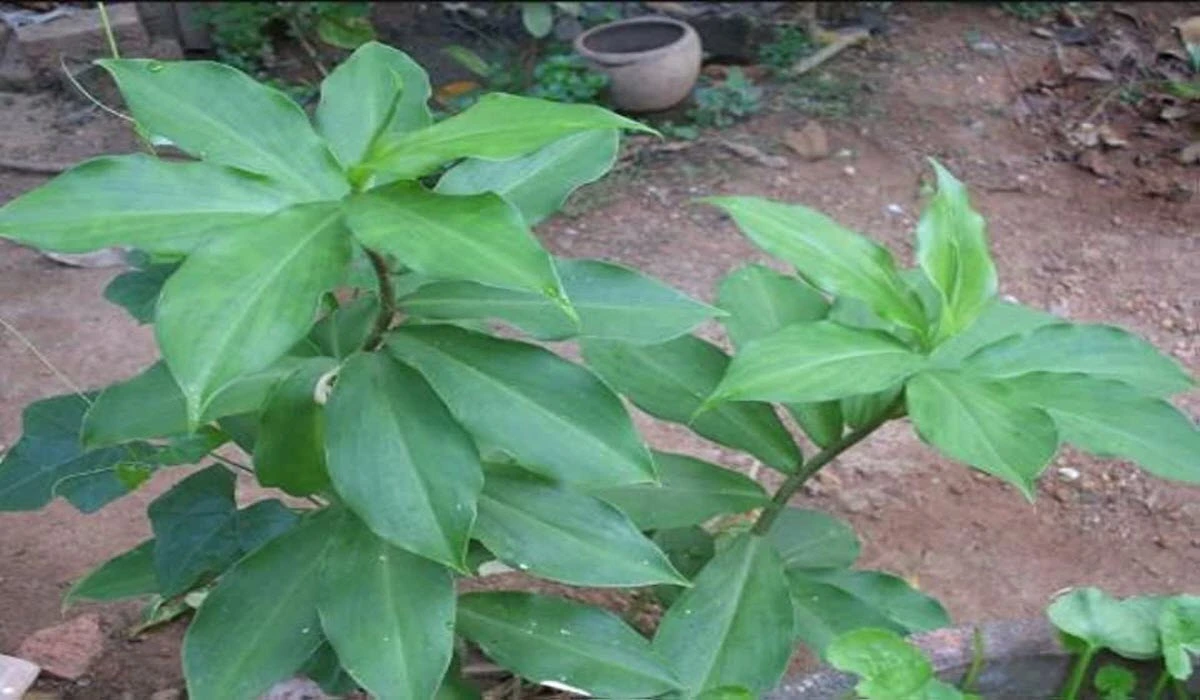
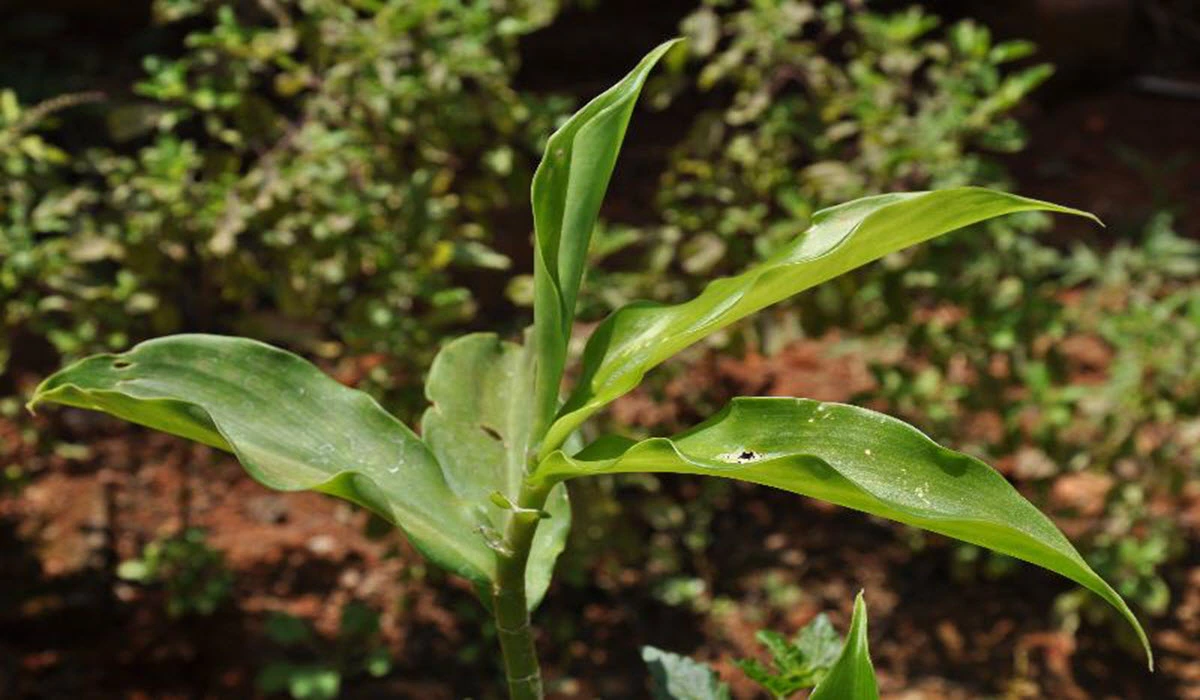
While modern medicine has made tremendous advancements, there is a growing interest in natural remedies and alternative therapies. One such remarkable plant is the Insulin Plant (Costus igneus), renowned for its potential to regulate blood sugar levels. In this article, we will explore how to grow insulin plant at home, how to grow insulin plant from cutting, how to eat insulin plant, and the health benefits of insulin plants.
Choose The Right Location
Select a suitable location for growing the Insulin Plant. It thrives in tropical and subtropical climates, with temperatures ranging between 20°C and 35°C (68°F to 95°F). Ensure the chosen spot receives partial shade or filtered sunlight to protect the plant from intense heat.
Obtain Plant Material
Insulin Plants can be propagated from seeds, cuttings, or rhizomes. Seeds are usually available online or at specialty nurseries. Cuttings or rhizomes can be obtained from a mature plant.

|
Gardening Gloves for Women and LadiesCOOLJOB Gardening Gloves for Women and Ladies, 6 Pairs Breathable Rubber Coated Yard Garden Gloves, Outdoor Protective Work Gloves with Grip, Medium Size Fits Most, Red & Green |
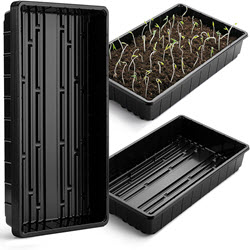
Seed Germination
If using seeds, soak them in water for 24 hours before sowing. Sow the seeds in a seed tray or small pots filled with moist, well-draining soil. Cover the seeds lightly with a thin layer of soil and maintain consistent moisture. Place the tray or pots in a warm location with indirect sunlight.
Cuttings or Rhizomes
If using cuttings or rhizomes, plant them directly into pots or garden beds filled with suitable soil. Ensure the cuttings or rhizomes are placed at a depth of about 2-3 inches and keep the soil wet.
Watering
Growing Insulin Plants needs regular watering to keep the soil wet. Water the plant when the soil feels dry.
Fertilization
Apply a balanced, organic fertilizer every two to three months during the growing season. This will provide essential nutrients and promote healthy foliage. Follow the instructions on the fertilizer package for application rates.
Pruning
Regularly prune the plant to maintain its shape and encourage bushier growth. Remove any dead or yellowing leaves to prevent the onset of diseases. Pruning also helps in harvesting leaves without causing harm to the plant.

|
5 pack Garden Pruning Shears Stainless Steel Blades5 pack Garden Pruning Shears Stainless Steel Blades, Handheld Scissors Set with Gardening Gloves,Heavy Duty Garden Bypass Pruning Shears,Tree Trimmers Secateurs, Hand Pruner |
Harvesting
Insulin Plant leaves can be harvested once the plant has reached maturity, usually after six to eight months of growth. Select mature, healthy leaves for harvesting. Avoid harvesting all the leaves from a single plant, as it may hinder its growth. Harvest a few leaves at a time, allowing the plant to continue growing.
Leaf Utilization
After harvesting, wash the leaves thoroughly and air-dry them. Once dry, grind the leaves into a fine powder using a blender or a mortar and pestle. The powdered leaves can be consumed by adding them to smoothies, teas, or meals. However, it is important to consult with a healthcare professional before incorporating it into your diet, particularly if you have any existing health conditions or are taking medications.
Health Benefits of Insulin Plant
Blood Sugar Regulation: The Insulin Plant is named for its potential to help regulate blood sugar levels. It contains phytochemicals that have insulin-like properties, which may assist in lowering blood glucose levels. This property makes it of particular interest to individuals with diabetes or prediabetes.
Anti-Inflammatory Properties: Some studies suggest that the Insulin Plant exhibits anti-inflammatory properties. Chronic inflammation is associated with various health conditions, including cardiovascular diseases, arthritis, and certain types of cancer. By potentially reducing inflammation, the plant may contribute to overall well-being.
Digestive Health Support: The Insulin Plant has been traditionally used to promote digestive health. It may help alleviate digestive issues such as indigestion, bloating, and constipation.
Immune System Support: The Insulin Plant contains compounds that may have immunomodulatory effects, meaning they can support and regulate the immune system.
Antimicrobial Activity: Some research suggests that the Insulin Plant exhibits antimicrobial properties, which can help fight against certain types of bacteria, fungi, and viruses.
Conclusion
By following these steps, you can successfully grow and utilize the original Insulin Plant in your own garden. Enjoy the process of nurturing this remarkable herb and harnessing its potential health benefits.